
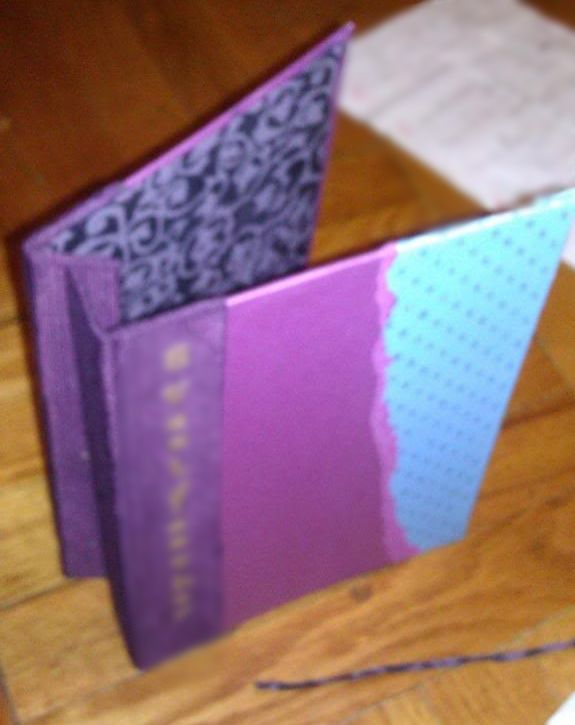
Before we begin, here is the finished product. I also want you all to know that this is only the 2nd book I ever made. The first one I made for myself and its much bigger but I did not take any pictures at the time. This book I decided to make since the first one came out decent enough and I wanted to make a gift for a friend. I had lots of supplies left over and I had been collecting specialty book papers for the net bookmaking occasion.
When I took these pictures it was mostly for me to be able to look back on what I've done. So they are far from perfect; I used my the camera on my cell phone and this was back before megapixels was a big deal and my flash wasn't so great (believe it or not the overhead lights were on throughout this picture taking process). I chose to use this book and these pictures to showcase my process as more of a walk down memory lane rather than a sleek, fashionable post trying to get you to buy something (that'll come later ;) ).
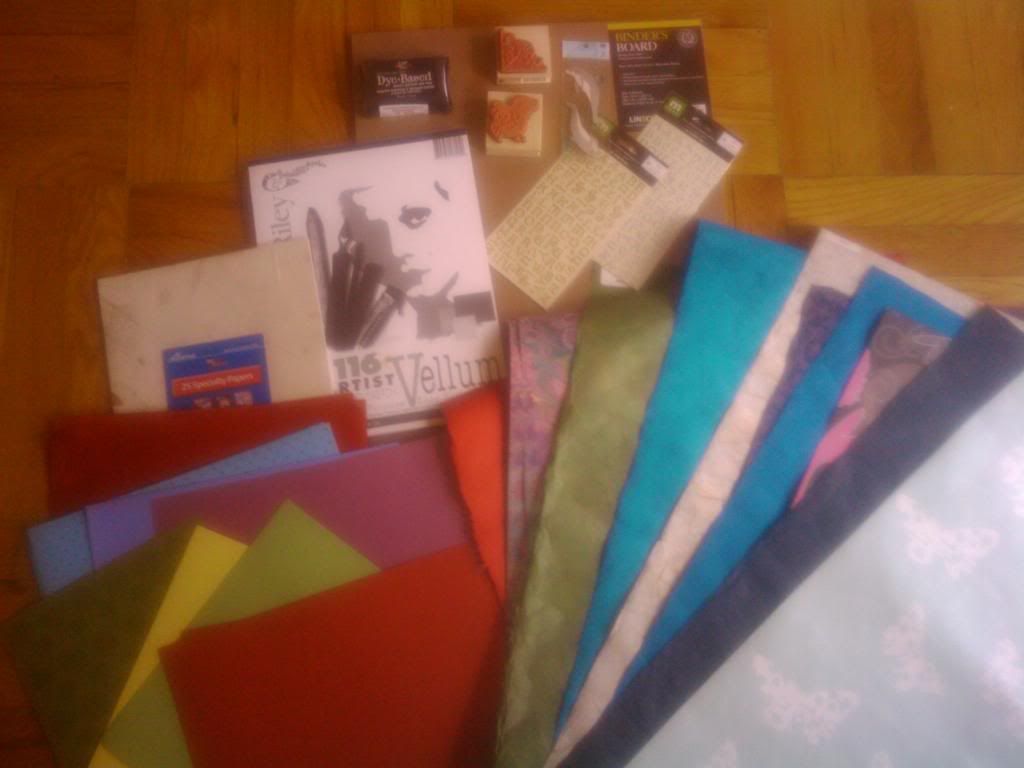
First, I must start off with supplies which in this case, consists of book board, vellum paper, stamps, stick-on letters, book cloth and end papers. Other supplies not shown include, hole punch, screw punch, rulers, crafters glue, a cutting mat, x-acto knives, paintbrushes, and scissors. All used in the average bookmaking process.
Now, the first step is to cut down the book board to the cover size you want. I made this book roughly 6"x9" and the book board I had gotten was 12"x12". Book board, just so you know, is hard, pressed cardboard-like material. Just think of any hardcover book or textbook cover. Its comes in multiple thicknesses but it hard to damage and protects the precious pages within its borders. Again, at the time all I had to properly cut the book board were my x-acto knives. It was slow going. but it got there.
From there you want to do some more cutting, this time of various papers. It helps to have a plan in mind for what you want to book cover to look like. I did not really at this time. I knew the colors I wanted to use and the papers but how was I going to make it all work I did not know. So I cut down the interior paper to size, then I contemplated the cover papers I wanted to use. I had three; this lovely sky blue with polka dots, a glossy lilac and this dark purple Japanese book cloth and I decided to layer them across the cover.
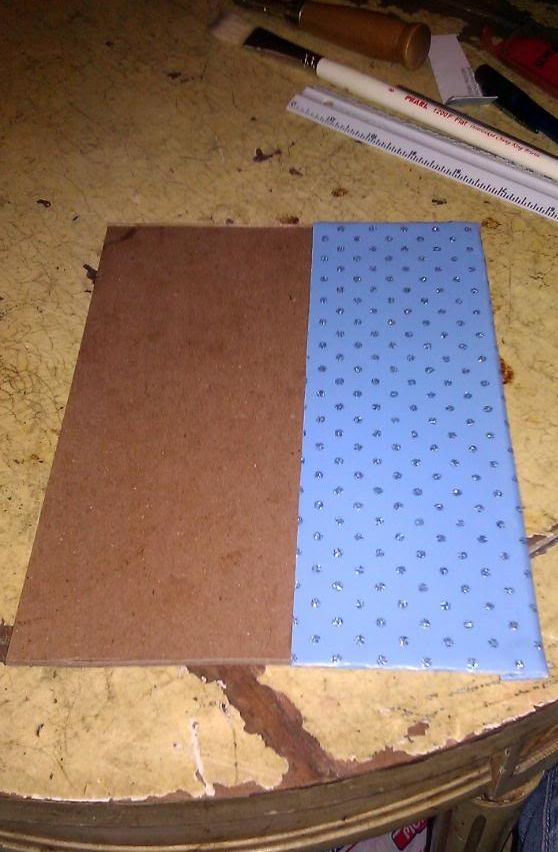
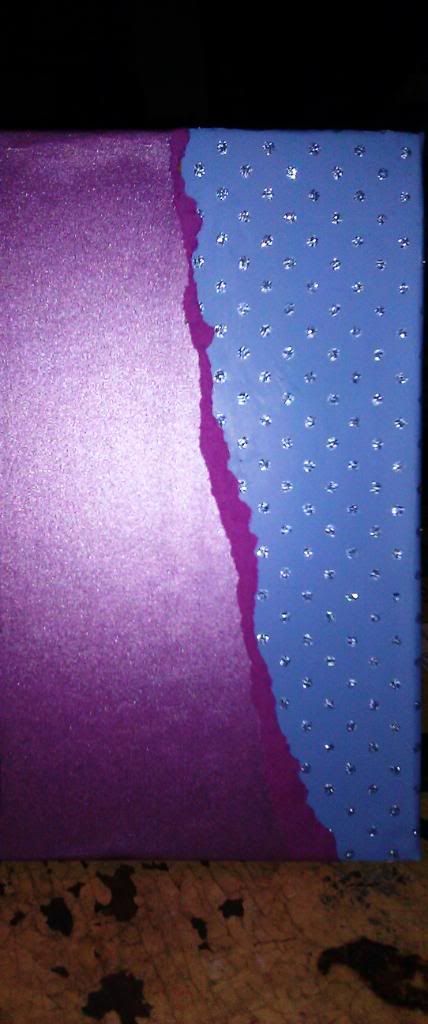
First, I cut down and glued on the baby blue paper as shown above. Since I was going to layer the other parts over it there was no need to use paper enough to cover the entire front cover. Now here comes the interesting part. I planned a completely boring, in my opinion now, straight, vertical layer of the of the glassy lilac paper over the blue and in an effort to keep as much glue off of the sections you will see I did not brush glue over the entire back of the lilac paper. When I went to glue down the rest of it, I accidentally ripped the paper. Thinking that I would have to start the whole thing oer from scratch, I just finished the rip and pull of the excess. That resulted in this.
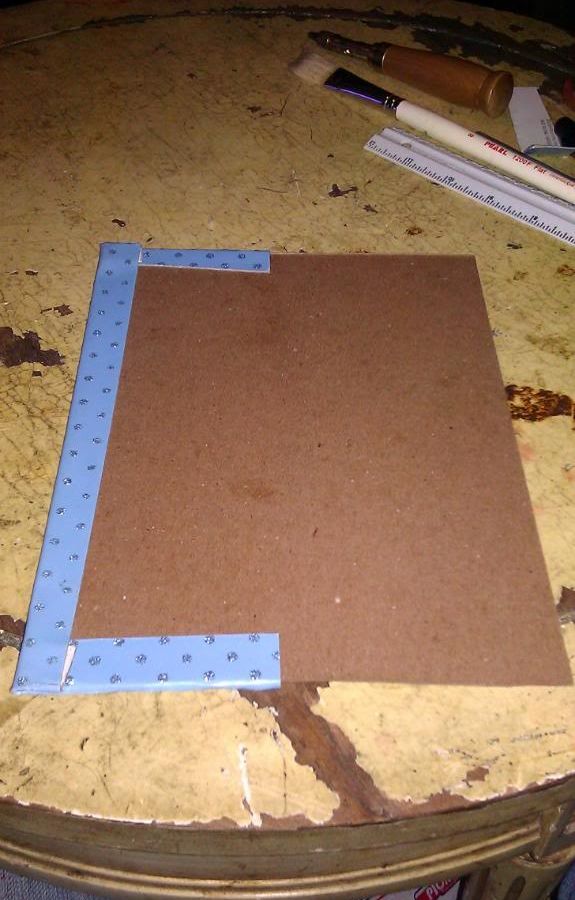
As I leave the partially complete cover to dry under the many, many books that I own (much cheaper than a press), I went back to the book board and cut out the ends for the covers. They will be the same length as the covers but only about 1" wide. Once I have those cut out I must now drill holes in them with my screw punch. I chose to use 3 holes on this particular book. Then I brought back the now dried cover with the two other layers already on it. I measure and cut out the amount of book cloth I will need and lay it face down to brush glue over the back. Leaving a centimeter or two of space between the front cover and its corresponding spine, I place them on the glue and fold the end of the cloth over to connect the two pieces; making sure to leave the space in between so the book cover can be opened.
As you can see above there on the left hand side, there is a small indentation where there is nothing but book cloth. Here is where the book cover will bend when you open it. Now the back cover, I decided to keep simple by using just two layers; the glossy lilac and the purple book board to connect the back cover with its spine. You can see that below this time the crease is on the right-hand side.
You might think the covers are done but they are not. When was the last time you opened any book and saw the book board on the inside cover? I think its safe to say never for most of you. More often then not when it comes to hard cover books you'll see some type of fancy paper called end paper. End papers are usually a different type of paper than used anywhere else in the book and are folded in half with one end glued to the inside of the covers and the other end serves as the first page of the book. For the purposes of this book the end papers only line the inside of the covers.

As you can see above, I used a very thin, almost tissue like paper with a subtle floral print in matching colors for the end papers. And just so you know, I have since learned that its more visually appealing to leave a bit of the cover papers showing around the edges of the end paper inside. I pasted these inside each cover with very little glue, careful to brush it on evenly since this paper was much more delicate than any of the others. Too much glue and it would bleed through the paper or worse rip it.
After setting these aside once again between tons of books to dry flat, I got ready the hole puncher to punch through the book cloth and make the holes I screwed into the book board visible again. I also, took the vellum which I intended for use inside and punched holes in the same areas as those on the covers and I also creased the pages so that they would bend easily when turned. For these jobs I use a simple paper cutter with various settings.
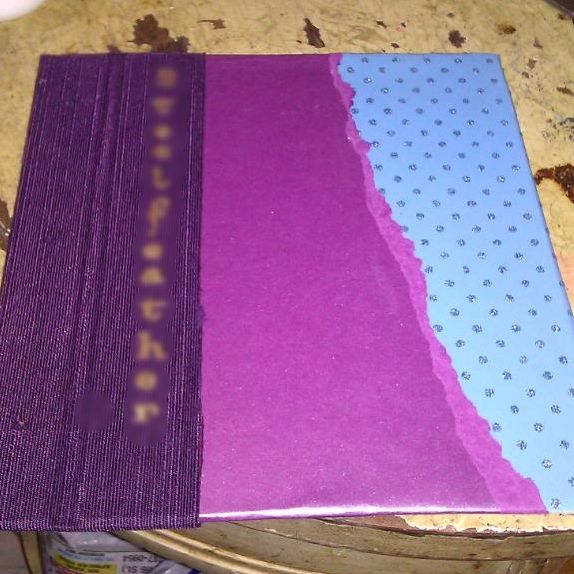
Once the covers are dry, I take them out and line them up for personalizing. There was only a bit more added to it including, on this particular book, adding the name to the front spine with simple stick on letters. They've been blurred out a bit in a previous picture above. Then I line up the pages and the covers by their holes and screw them all together with the screw posts.

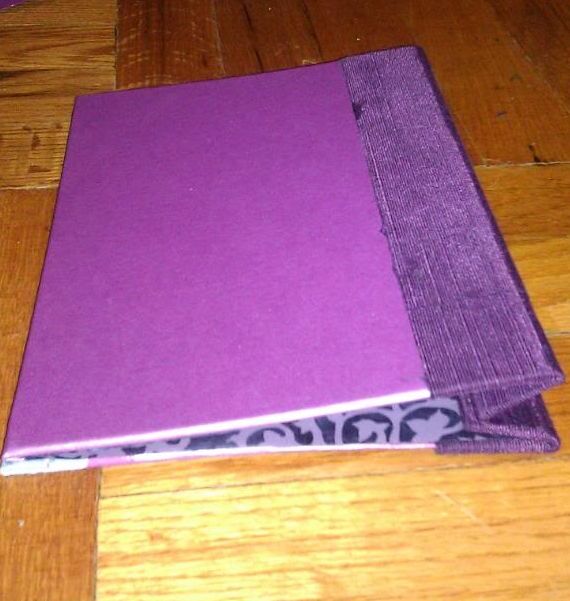
Et Voila!
No comments:
Post a Comment